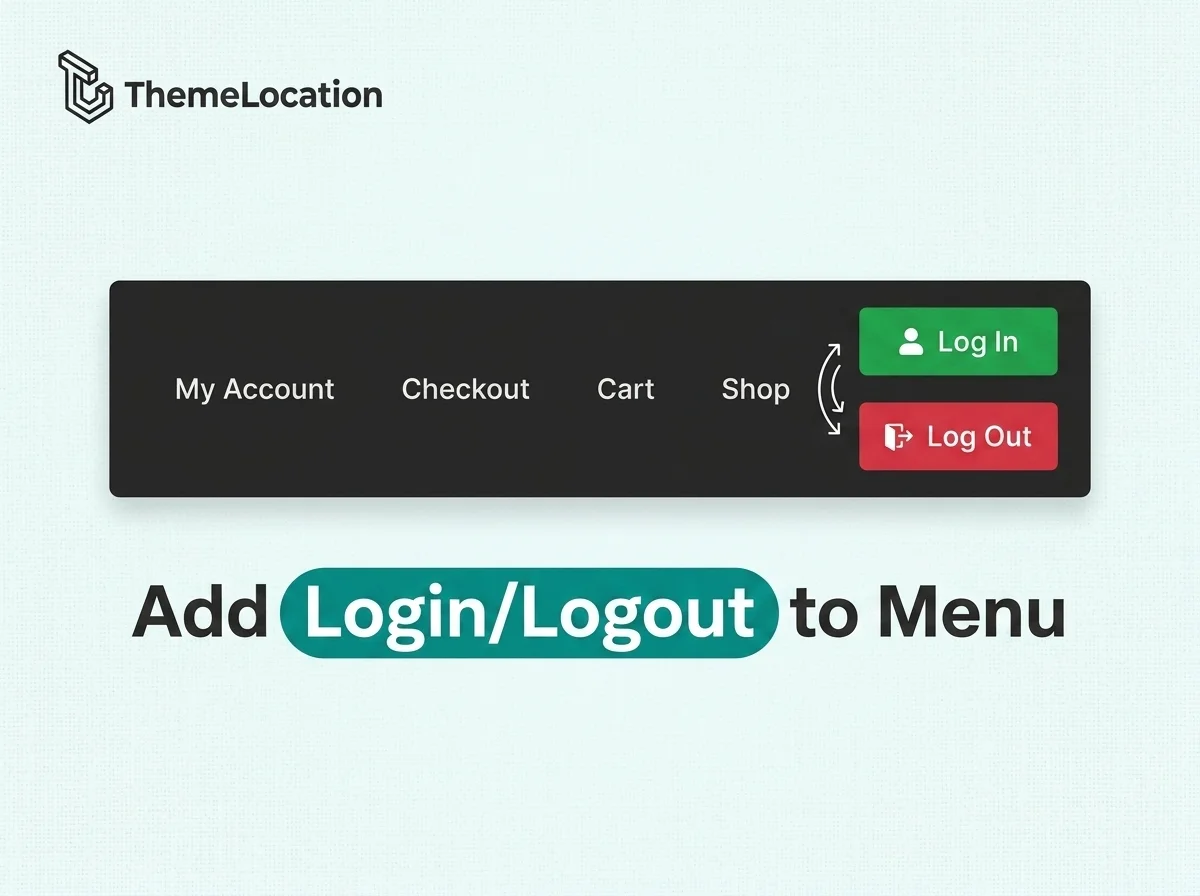
WooCommerce creates a My Account page for customer registration and login, but it doesn’t automatically add a dynamic login/logout link to your site’s navigation menu. Customers have to navigate to the My Account page manually to log in or out.
In this tutorial, we’ll show you how to dynamically add a “Log In” link to your primary menu for logged-out visitors and a “Log Out” link for logged-in users — all with a simple code snippet in your functions.php file.
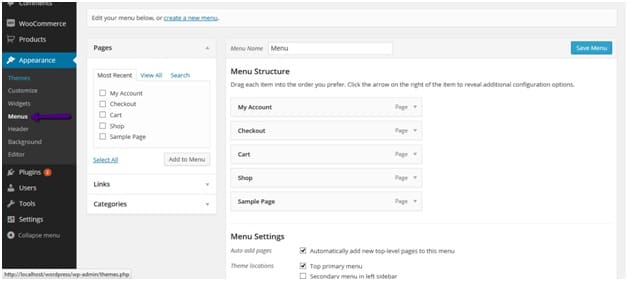
Step 1: Make Sure You Have a Primary Menu Set Up
Before adding the code, you need a navigation menu assigned to the primary menu location. Go to Appearance → Menus in your WordPress admin to create or manage your menu:
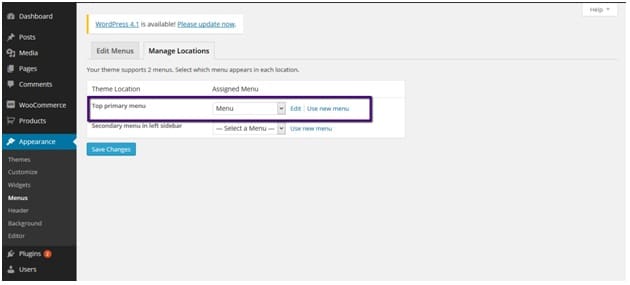
If you already have a menu, make sure it’s assigned to the Top primary menu location. Click the Manage Locations tab to verify:
Step 2: Add the Login/Logout Code
Now add the following code to the end of your child theme’s functions.php file:
add_filter( 'wp_nav_menu_items',
  'add_loginout_link', 10, 2 );

function add_loginout_link( $items, $args ) {

  if ( is_user_logged_in()
    && $args->theme_location == 'primary' ) {

    $items .= '<li><a href="'
      . wp_logout_url(
          get_permalink(
            wc_get_page_id( 'myaccount' )
          )
        )
      . '">Log Out</a></li>';

  } elseif ( ! is_user_logged_in()
    && $args->theme_location == 'primary' ) {

    $items .= '<li><a href="'
      . get_permalink(
          wc_get_page_id( 'myaccount' )
        )
      . '">Log In</a></li>';

  }

  return $items;
}
This code hooks into the wp_nav_menu_items filter, which lets you append items to any navigation menu. It checks two things: whether the user is logged in, and whether the current menu is the primary menu location. Based on the login state, it appends either a “Log In” link (pointing to the My Account page) or a “Log Out” link (pointing to the WordPress logout URL with a redirect back to My Account).
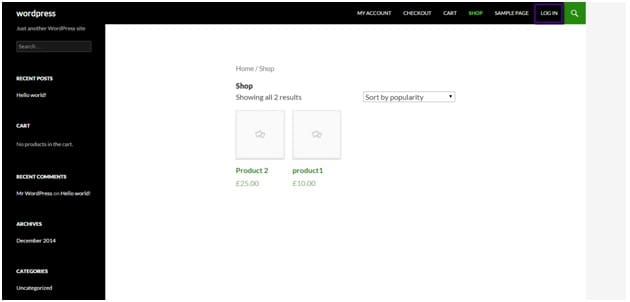
Step 3: See the Results
Save the file and refresh your site. When a visitor is not logged in, they’ll see a “Log In” link in the navigation menu:
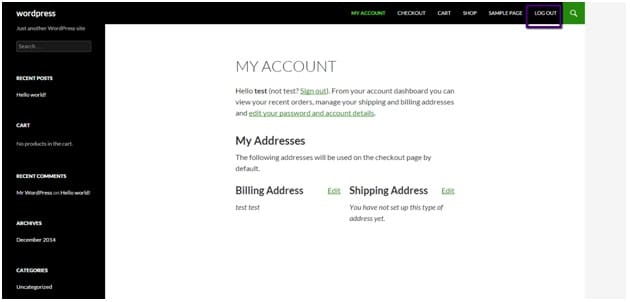
After logging in, the link automatically switches to “Log Out”:
Conclusion
Adding dynamic login/logout links to your WooCommerce navigation menu is a simple, one-snippet customization that improves the user experience. Visitors get a clear, always-visible way to access their account, and the link automatically toggles based on their login state.
Frequently Asked Questions
What if my theme doesn’t use “primary” as the menu location?
Change ‘primary’ in the code to whatever your theme uses. You can find the correct location name under Appearance → Menus → Manage Locations. Common alternatives include ‘main-menu’, ‘header-menu’, or ‘top’.
Can I add this to a secondary or footer menu too?
Yes. Duplicate the if/elseif block and change the theme_location value to your secondary menu’s location slug. Or remove the theme_location check entirely to add the link to all menus.
Where does the Log Out link redirect to?
In this code, it redirects to the My Account page after logout. You can change the redirect URL by replacing the get_permalink() call inside wp_logout_url() with any URL you prefer, like the homepage.
Will this work without WooCommerce?
The wc_get_page_id() function is WooCommerce-specific. For a non-WooCommerce site, replace it with wp_login_url() for the login link and wp_logout_url( home_url() ) for the logout link.