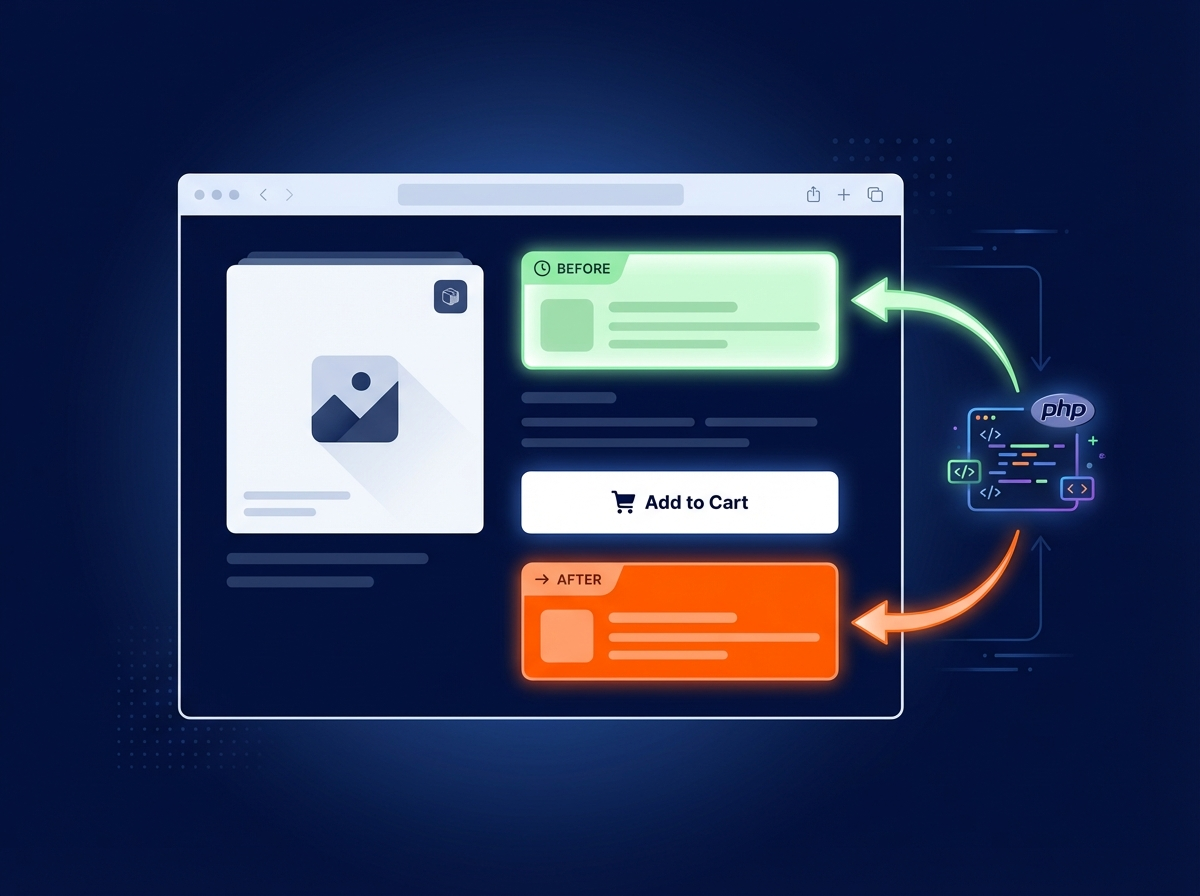
Need to add custom content near the “Add to Cart” button on your WooCommerce product page? Whether you want to place a trust badge below the button, a promotional message above it, or any other custom HTML — you can do it cleanly using WooCommerce hooks, without touching any core template files.
This tutorial covers two scenarios:
- Part 1 — Add content after the Add to Cart button
- Part 2 — Add content before the Add to Cart button (after the short description)
Why Use Hooks Instead of Editing Templates?
A common mistake is to directly edit WooCommerce template files like single-product/add-to-cart/simple.php. The problem? Every time WooCommerce updates, your changes get overwritten.
Hooks are the correct WordPress way — your code lives in functions.php or a plugin, and WooCommerce calls it automatically at the right point in the page. No template edits, no update headaches.
Before You Start
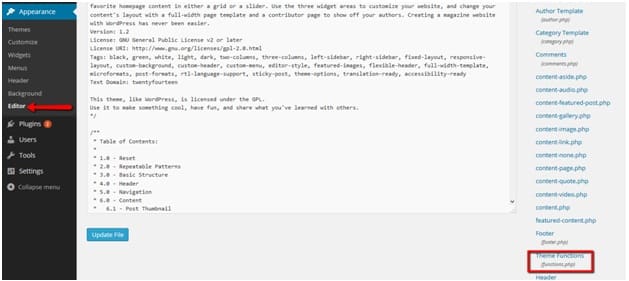
Always add code to your child theme’s functions.php — never the parent theme. If you don’t have a child theme, use the free Code Snippets plugin instead.
Part 1: Add Content After the Add to Cart Button
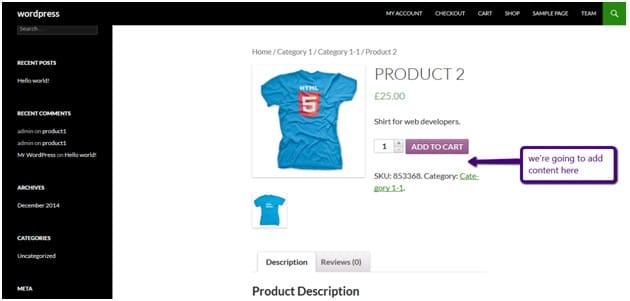
Here’s what the default product page looks like — the Add to Cart button with nothing below it:
To add content directly below the Add to Cart button, paste the following code at the end of your child theme’s functions.php file:
add_action( 'woocommerce_after_add_to_cart_button', 'add_content_after_addtocart_button_func' );

function add_content_after_addtocart_button_func() {
    echo '<div class="content-after-cart-btn">Place your content here!</div>';
}
Click Update File to save, then refresh your product page.
What to replace: Swap Place your content here! with any HTML you want — a trust badge, a shipping notice, a money-back guarantee message, a payment icons strip, or any other content.
Example adding a trust message:
add_action( 'woocommerce_after_add_to_cart_button', 'add_content_after_addtocart_button_func' );
function add_content_after_addtocart_button_func() {
echo '<div class="content-after-cart-btn">
🔒 Secure checkout | Free returns | 30-day guarantee
</div>';
}Part 2: Add Content Before the Add to Cart Button
To place content before the Add to Cart button specifically after the short product description, use the woocommerce_short_description filter:
add_filter( 'woocommerce_short_description', 'my_custom_content_before_cart', 10, 1 );

function my_custom_content_before_cart( $content ) {
    $content .= '<div class="custom-content-before-cart">Custom content!</div>';
    return $content;
}
After saving and refreshing the product page, your content will appear after the short description and before the Add to Cart button.

What to replace: Change Custom content! to whatever HTML or text you want displayed in that position.
Other Useful WooCommerce Product Page Hooks
If you need to place content in a different location on the product page, here are the most commonly used hooks:
| Hook | Position |
|---|---|
woocommerce_before_single_product | Before the entire product section |
woocommerce_before_add_to_cart_button | Directly before the Add to Cart button |
woocommerce_after_add_to_cart_button | Directly after the Add to Cart button |
woocommerce_after_add_to_cart_form | After the entire add to cart form |
woocommerce_after_single_product_summary | Below the product summary (above tabs) |
woocommerce_short_description | Filter — appends to short description |
Styling Your Custom Content
Your custom content is wrapped in a <div> with a class you control. You can style it in Appearance > Customize > Additional CSS:
/* Style for content after Add to Cart button */
.content-after-cart-btn {
    margin-top: 12px;
    padding: 8px 12px;
    background-color: #f9f9f9;
    border: 1px solid #e0e0e0;
    border-radius: 4px;
    font-size: 0.9em;
    color: #555;
}

/* Style for content before Add to Cart button */
.custom-content-before-cart {
    margin-bottom: 12px;
    font-style: italic;
    color: #888;
}
Conclusion
Adding custom content around the Add to Cart button in WooCommerce is one of the most practical and frequently needed customizations for store owners. Whether it’s a trust badge, a promotional message, a warranty note, or shipping info — placing it near the buy button puts it exactly where customers are focused.
To recap:
- After the button → use
woocommerce_after_add_to_cart_buttonaction hook - Before the button → use
woocommerce_short_descriptionfilter - No template files touched — everything lives in
functions.phpor Code Snippets